|
First, we are proactively participating in the research and development of
current standards for future stucco specifications. We also
implement necessary procedure before being required to by the state or
appropriate cities. Below for your pleasure is a recap on our current lathing
procedures...
Code required weepscreed (one version below):
Weepscreed is installed to allow proper drainage of water/moisture at the base of a
stucco area. Even along brick and stone walls if stucco is
installed above them. Most of this product is buried under the
stucco. First installed over brick/stone is a steel drip cap or
flashing, then the weepscreed is installed.
We also install our own stainless steel painted drip cap over all
window/door openings to create a barrier between water shedding down the
wall and the opening itself. The drip "cap" should hang far enough
on the sides to go over the soon installed plaster stop(approx 3/8").
Water will shed left/right or out and around the window/door.
There should be Stainless steel sheeting installed on the home below and
beside the front door and patio areas prior to any concrete being poured
for steps and front entry patios. This way our stucco can overlap
this and further prevent any water from entering at the front door.
Any metal such as drip cap and kickout flashings are to be installed
first, under all building paper that the stucco contractor or lather
installs.
Our 2 layers of Grade"D" paper are installed bottom-up for proper water
shedding. We slide our paper up underneath the window installers
paper, they should have wrapped the window opening prior to window
installation and left enough hanging out the front for us to go under.
Some builders are even sloping the bottom sill rough opening towards the
outside of the home for even more protection. Once the paper has
been installed, window tape (very sticky) is overlapped on the paper to
slightly outwards on the edge of the window. This creates a very
tight seal. Now continue the paper installation all the way to the
soffit and under the pre-installed paper the soffit installer should
leave hanging loose also.
Click to enlarge
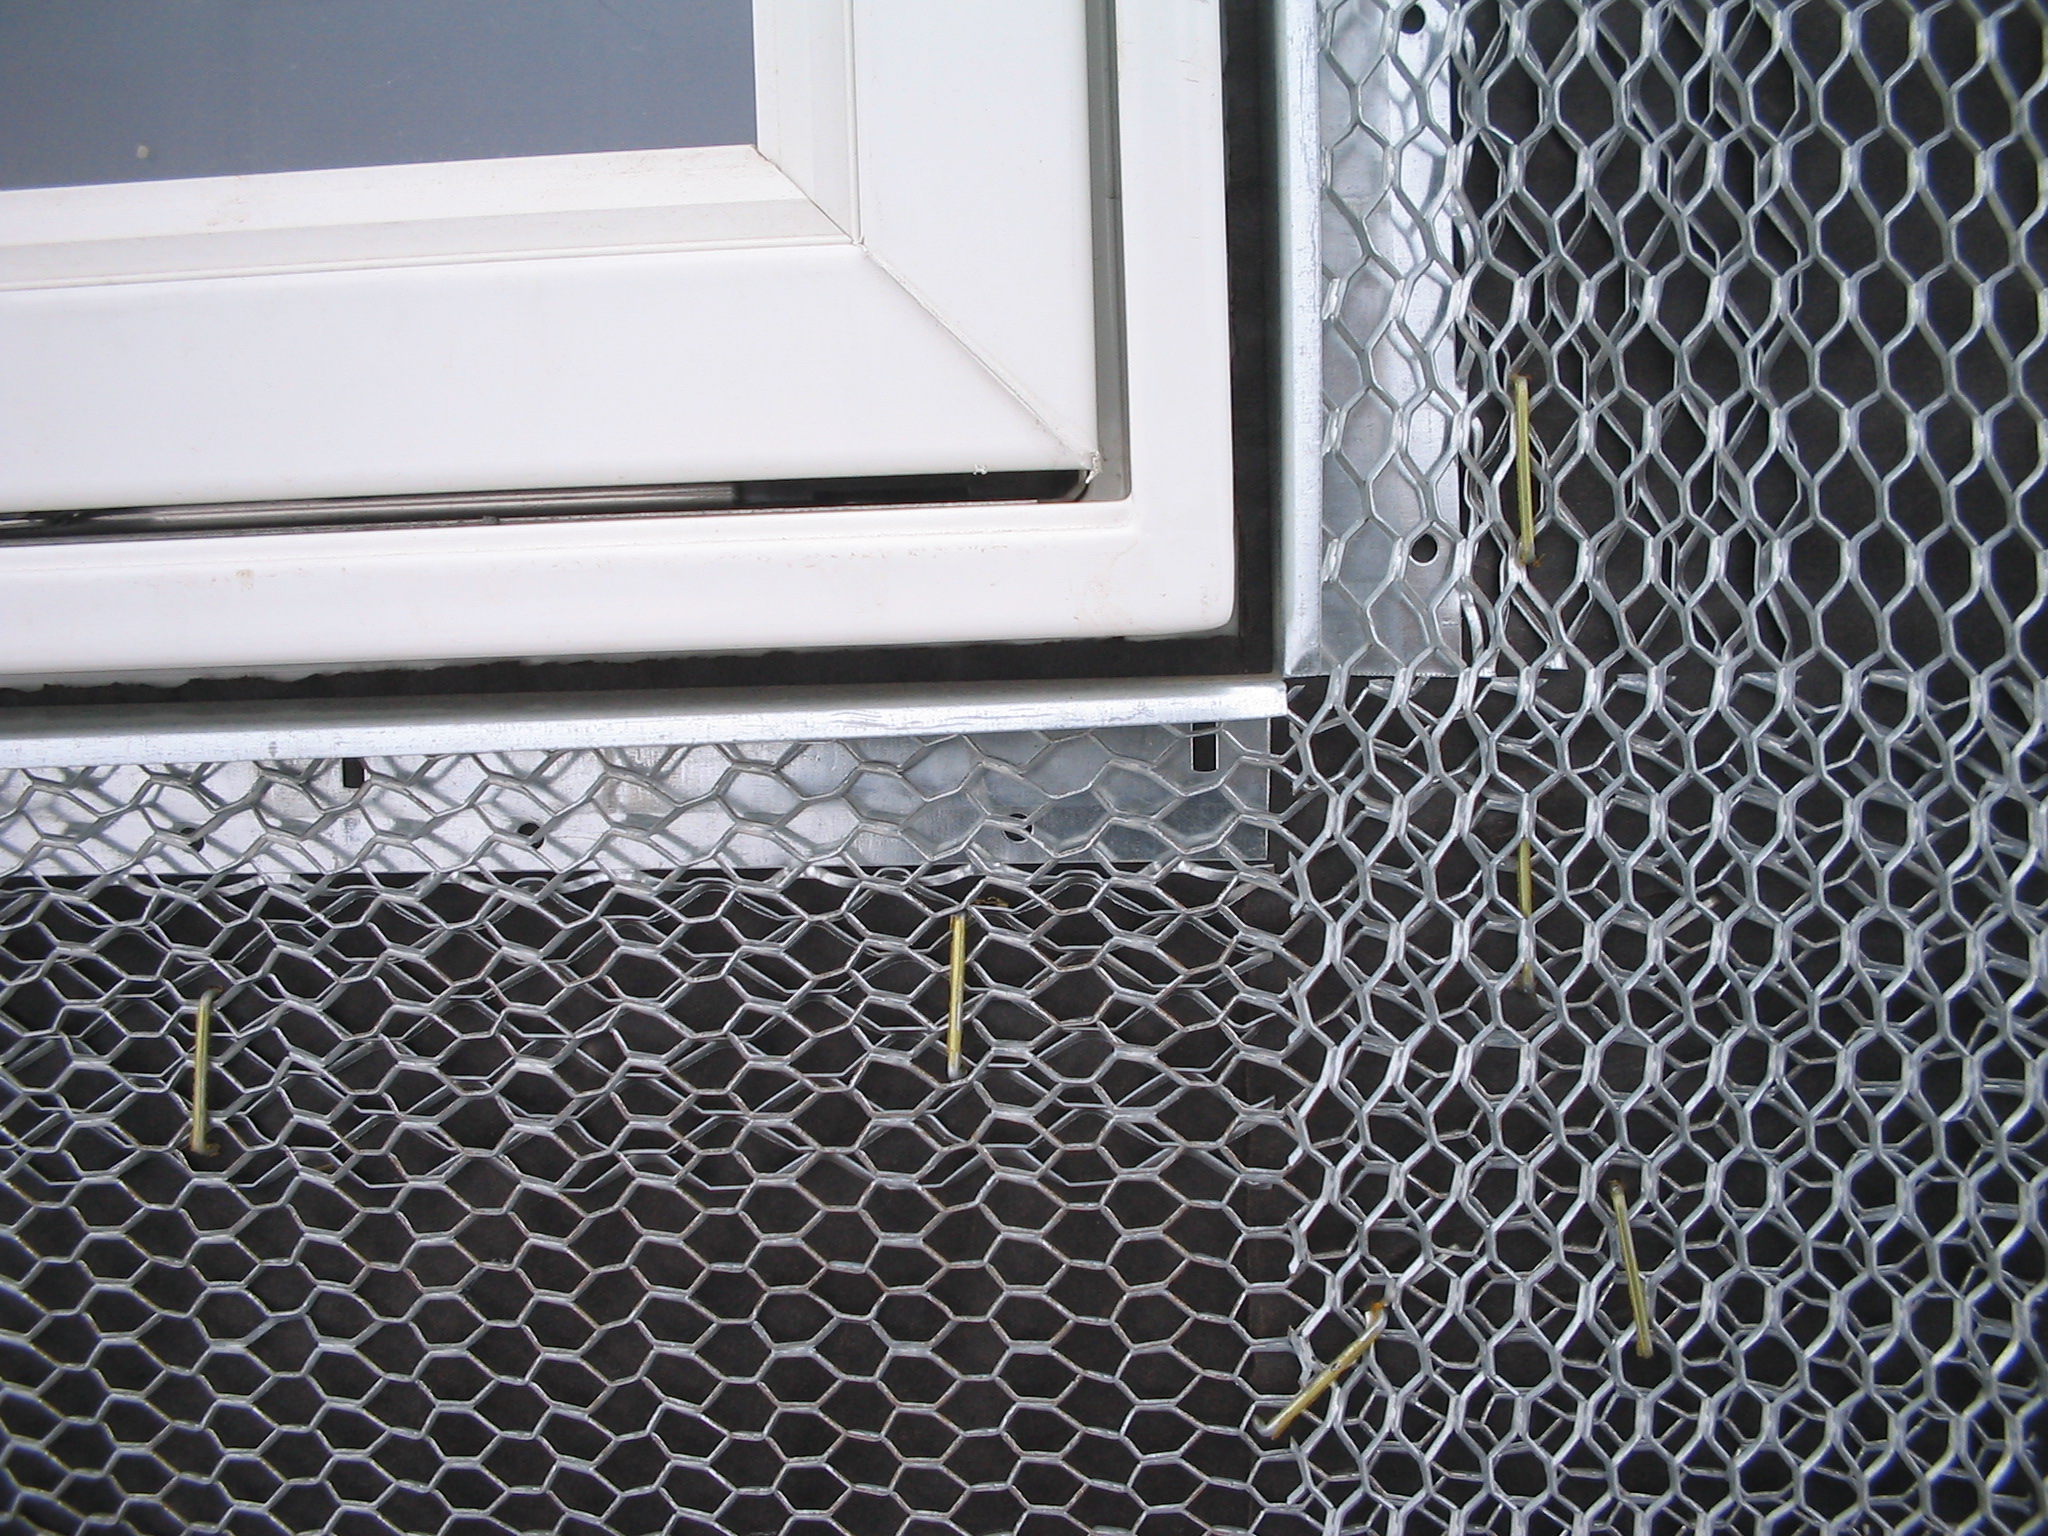
Now it's time to install plaster stop (above photo).
The photos show the plaster stop properly installed prior to backer rod
and caulking. The backer rod and caulk are to be installed between
the plaster stop and the window. We try to match window color with
the caulking in most cases. This goes on verticle edges
and horizontal surfaces except where there is drip edge installed.
Now we can install our lath making sure to only staple the studs.
The paper should be marked with lumber crayons to keep track of this.
Once the lath is hung, some cities allow for smaller (3.4") staples in
the field, some don't. You may have to tie-wire on those that
don't allow for any stapling. Next is time to brown coat.
Once again, some cities don't allow this process with one coat unless
using a product like STO One-coat Stucco basecoat. Although more
expensive, worth it in some cases.
After a few days of curing, this is when we install our cosmetic trim,
quoins, and keystones. They are prebase-coated foam sculpted
pieces that are mechanically and chemically fastened to the basecoat
stucco. We then wait the rest of the appropriate 10 days or longer
for the stucco to continue curing and then apply the finish coat.
Generally we use an acrylic finish such as Parex, Dryvit, or Sto.
Unless otherwise specified.
And finally, a company, either hired by us, or the contractor comes in
and professionally installs backer rod and caulking to all appropriate
joints on the stucco area. We will try to maintain updates to this
page as things continue to progress.
Dr.
Stucco, Inc. ©2019 6223 Clinton Ave South, Richfield, MN 55423
952-261-1111 fax
952-884-9871
MN Lic# 20323087
Webmaster
Oberware, Inc.
|